



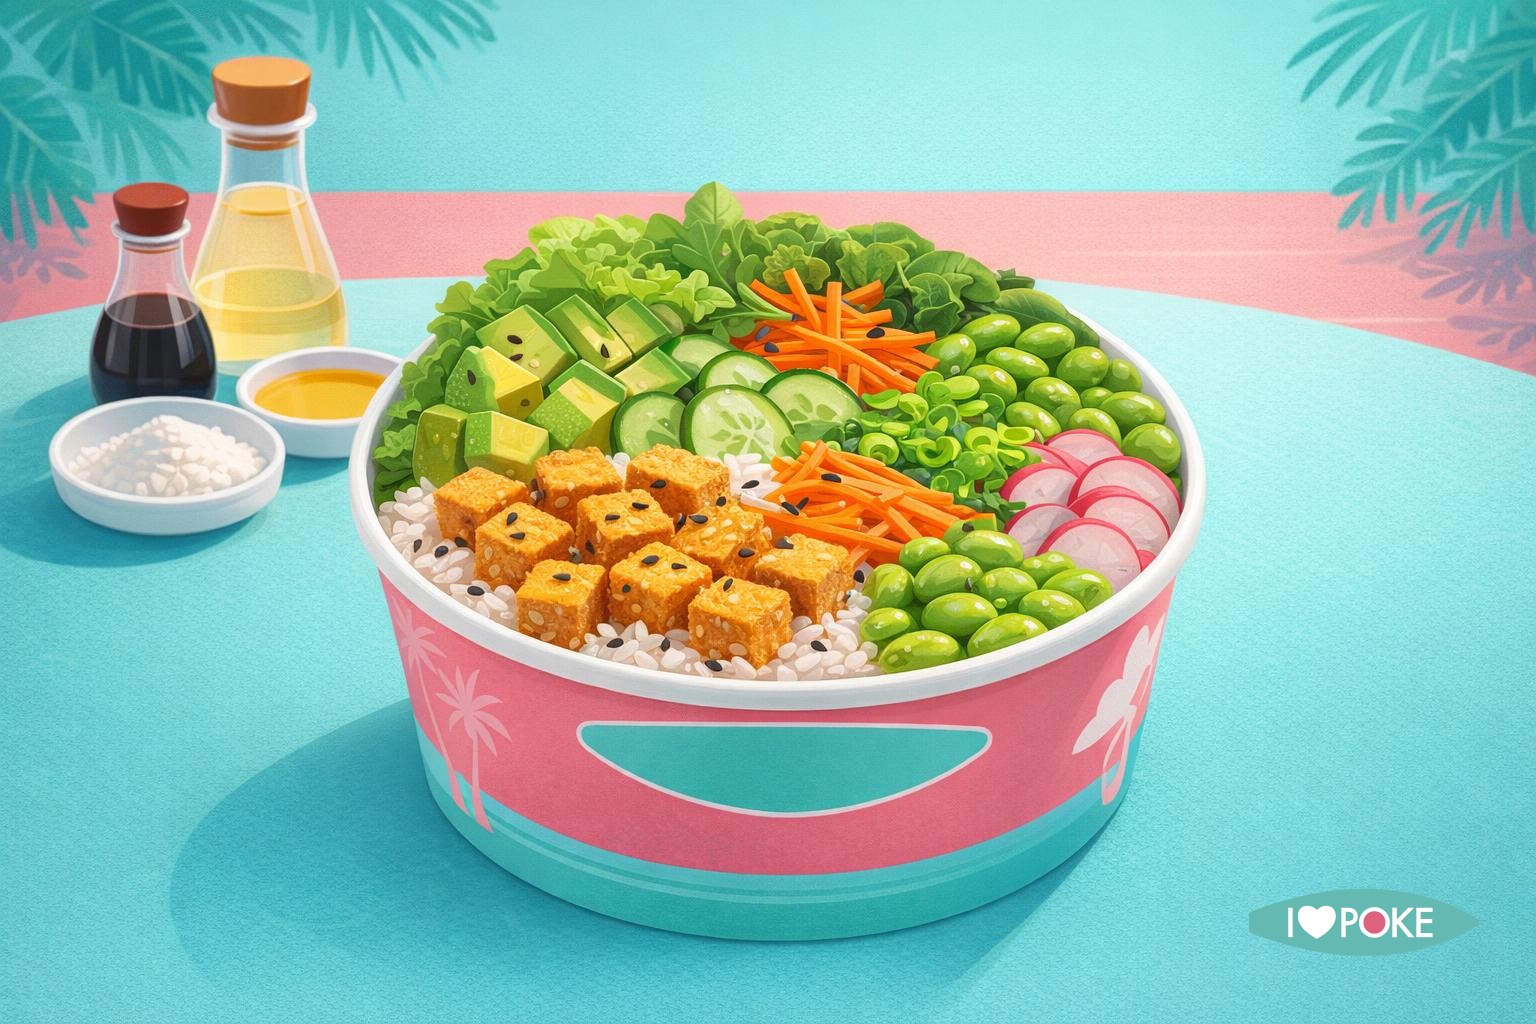
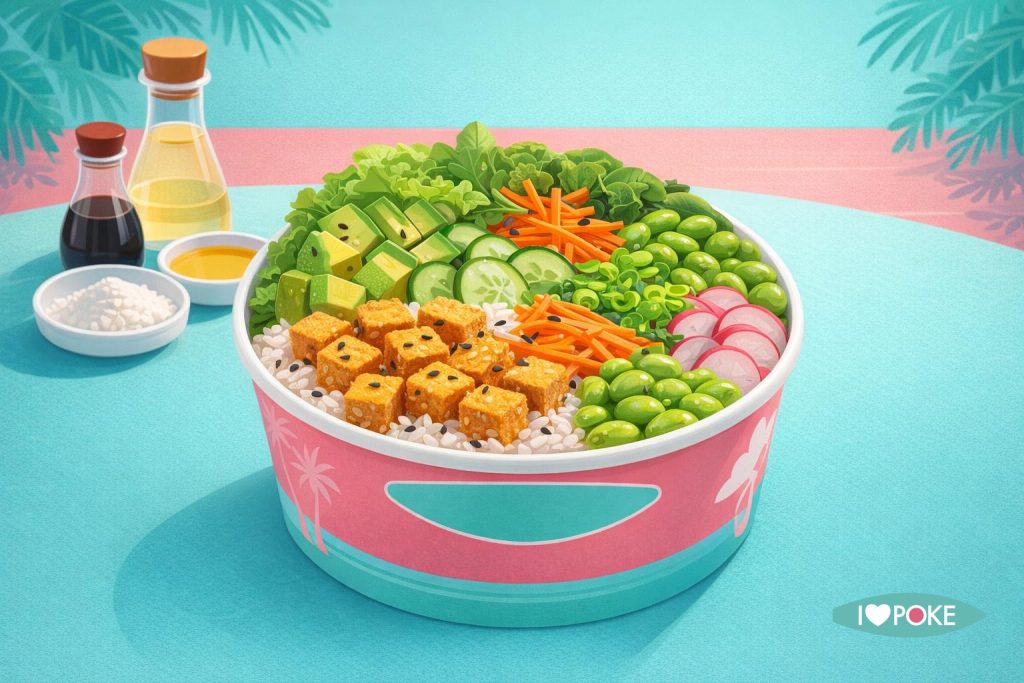
This fish-free poke bowl with crispy tofu combines the freshness of raw ingredients with the delicious texture of golden tofu. Slightly tangy sushi rice creates the perfect base for edamame, creamy avocado, crunchy cucumber, and julienned carrots, completed by a savory marinade and a sweet and sour glaze that coats the tofu.
Easy to customize, the recipe is designed to be prepared in advance as meal prep but maintains its crunchiness if assembled at the moment. Ideal for those looking for a veggie alternative to traditional poke without giving up the flavors of fusion cuisine.
Ingredients
- 200 g sushi rice (washed and cooked according to instructions)
- 2 tablespoons rice vinegar (for seasoning the rice)
- 300 g firm tofu (pressed and cut into cubes)
- 2 tablespoons cornstarch (maizena) (to make the tofu crispy)
- 2 tablespoons seed oil (for frying or sautéing the tofu)
- 3 tablespoons soy sauce (preferably low sodium)
- 1 spoon mirin (or a tablespoon of sweet sake; optional)
- 1 spoon toasted sesame oil (for the dressing and flavor)
- 1 spoon maple syrup or sugar (to balance the marinade)
- 120 g shelled edamame (thawed or steamed)
- 1 medium avocado (sliced)
- 1/2 cucumber (thinly sliced or julienned)
- 1 medium carrot (cut into julienne)
- 4-6 radishes (thinly sliced for crunch and color)
- 1 spring onion (finely sliced)
- 50 g mixed greens or salad (optional, for a fresh base)
- 1 spoon sesame seeds (toasted for garnish)
- 1 teaspoon furikake or crumbled nori (optional, for sea-savory flavor without fish)
- 1 lime wedge (for serving)
- 1/4 teaspoon salt (as needed, for rice and vegetables)
Preparation
-
1
Cook the sushi rice according to the instructions on the package; once cooked, transfer it to a wide bowl and season with rice vinegar and a pinch of salt. Let it cool to room temperature.
Durata indicativa: 20 min
Tip: Spread the rice on a wide surface to speed up cooling; avoid the refrigerator to prevent hardening the grains.
-
2
Press the tofu for 15 minutes to remove excess water, then cut it into cubes and toss with cornstarch; shake off the excess flour.
Durata indicativa: 20 min
Tip: Use a press or wrap the tofu in kitchen paper with a weight on top to achieve a firmer texture.
-
3
Heat the oil in a pan and cook the tofu over medium-high heat until golden and crispy on all sides (8–10 minutes). Halfway through cooking, pour half of the soy sauce mixed with mirin and maple syrup to lightly glaze the cubes.
Durata indicativa: 12 min
Tip: Do not overcrowd the pan: cook the tofu in batches if necessary to maintain crispiness.
-
4
In the meantime, prepare the dressing by combining the remaining soy sauce, sesame oil, a teaspoon of rice vinegar, and, if you like, a touch of maple syrup; mix well.
Durata indicativa: 5 min
Tip: Taste and adjust acidity or sweetness according to your preference.
-
5
Blanch the edamame for 3–4 minutes in salted water and drain. Cut avocado, cucumber, carrot, radishes, and slice the spring onion.
Durata indicativa: 6 min
Tip: To keep the avocado green, spray with a little lime juice immediately after slicing.
-
6
Assemble the poke bowls: spread the rice as a base, add the mixed greens, then arrange the crispy tofu, edamame, and vegetables in a fan shape. Finish with the dressing, sesame seeds, and furikake.
Durata indicativa: 5 min
Tip: Assemble just before serving to keep the tofu crispy; store separately for meal-prep.
Notes and Tips
Spread the rice on a wide surface to speed up cooling; avoid the refrigerator to prevent hardening the grains.
Use a press or wrap the tofu in kitchen paper with a weight on top to achieve a firmer texture.
Do not overcrowd the pan: cook the tofu in batches if necessary to maintain crispiness.
Taste and adjust acidity or sweetness according to your preference.
To keep the avocado green, spray with a little lime juice immediately after slicing.
Assemble just before serving to keep the tofu crispy; store separately for meal-prep.
Reviews
Leave a Review
User Reviews
Be the first to review this recipe!


